Checking Files Out
Note: You must select a default directory for at least one of the parent folders of a file before you can check that file out.
[How do I do that?]
- Browse to folder that contains the file or files you want to check out.
- Select the files you want to check out.
- Select File | Check Out File(s) or right-click the files and select Check Out File(s).
- This brings up the following dialog.
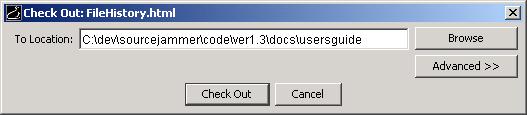
- Click the Check Out button to check out the file or files.
Once the file is checked out to you, the icon next to the file's name changes, showing that the file is checked out.

Note: The Check Out dialog shows a Browse button that allows you to specify the directory that you want to check out to. It is highly recommend that you not use this button. You should always check out to the default directory to avoid problems with checking your files back in.
What Happens When You Check a File Out
Here's what goes on behind the scenes when you check a file out.
- The file that you check out is marked as checked out to you in the SourceJammer archive. This means that no on else can check out the file until you check it back in or undo the check out. Other user's who look at the file in SourceJammer will be able to see that it is checked out to you.
- SourceJammer compares the copy of the file on your computer to the latest version in SourceJammer. If the files are different, SourceJammer downloads the latest version of the file to your computer.
- SourceJammer sets the copy of the file on your computer to "writable", which means you can now modify the file.